This week, my baking project was another throwback to childhood: the funfetti cupcake. My friend Joe’s 32nd birthday was yesterday, so for his birthday party, I decided I would bake a batch of cupcakes for everyone to enjoy while we were out at the bar. I perused the aisle at my local grocery store earlier in the week to see what the cake selection looked like and spotted the funfetti mix – classic yellow cake that’s freckled with rainbow-colored sprinkles in the mix. For those unfamiliar with this particular phenomenon – and seriously, shame on you – it makes your cake look as though it’s dotted with little rainbow fireworks inside. It’s very cute – perfect for the next birthday cake you want to bake for the under-10 set. Or in my case, the early-30s set.
Joe is a good friend that I met almost 3 years ago and one of the few people I know who truly revels in celebrating his birthday. I wanted to do something really special, so I cleared the funfetti cupcake idea with him (he was thrilled, called the selection “perfect”) and agreed with his suggestion that a simple vanilla frosting would be the best compliment to the rainbow-tinged cupcakes. Since my goal is to eventually get away from using store-made products, I set out to find an appropriate frosting recipe that I could make by myself. I settled on the “Silky Vanilla Butter Frosting” from my Good Housekeeping Cookbook.
Now, dear reader, I recognize that you are possibly shaking your head and thinking to yourself, “But Jon, wouldn’t it be easier to make homemade cupcakes and use store-bought frosting, instead of the other way around? You’d still get away from using mixes for everything while not stressing yourself out to the max at the same time!” While I agree, I don’t exactly know how one would do a homemade funfetti mix, and was more than willing to let the fine folks at Duncan Hines figure that out for me.
I started baking by following the instructions on the back of the cake mix and using my brand new hand-mixer! My note to self in last week’s blog posting inspired some charity on the part of my Mom, who offered to fund my electric-mixing dreams. Thanks, Mom!


When I pulled out the cupcake/muffin pans that I had bought a few years back, I realized that I had two mini-muffin pans and one regular-sized pan though I had originally thought it was the other way around. Suddenly, I realized I’d possibly have to do the cupcakes in two batches instead of just one, which could have posed some problems, but I figured I’d confront that problem if I came to it.
And come to it I did, but in all honesty, the cupcakes posed very few problems to me at all. The mix called for 18 or so minutes to bake the regular-sized cupcakes, so I figured I’d check on my minis around the 15-minute mark. Some of them got a little overdone, but for the most part they were fine. Next time, I’m checking on them at 12 minutes instead.
After the first batch of cupcakes went into the oven, I started working on the frosting. The ingredients were as follows:
1 cup sugar
1/2 cup all-purpose flour
1&1/3 cups milk
2 sticks softened butter
1 tablespoon vanilla extract
1/2 cup all-purpose flour
1&1/3 cups milk
2 sticks softened butter
1 tablespoon vanilla extract
The recipe instructed me to mix the sugar and flour together and then whisk the milk into them slowly. Afterwards, the mixture would be brought to a boil, and then cooked for two minutes. It sounded a little similar to making a roux, something I’ve done a few times before, even though I still find a roux to be a little intimidating. It’s not a technique that came with my degree from the Cooking School of Mom, and certainly not something I do often.
I steeled myself to attack the frosting-making with sheer nerve – flying blind like this and trying something new in the kitchen can be really scary. After I measured out the flour and sugar and combined them, I tried measuring out the milk, only to have a good quarter of a cup of milk get away from me and splatter all over the floor. I pride myself on the fact that I don’t often have a lot of messes in the kitchen. I keep a fairly clean workspace and very rarely get prep ingredients on the floor. As I stared down at the puddle of milk spreading across my kitchen, I started to lose my cool. But that old adage, “Don’t cry over spilled milk” saved my mood. I slowly whisked in the milk as instructed and left the floor as it was for the moment.
Once the milk/flour/sugar recipe was fully combined, I turned on the heat. I felt a little led astray by the writers of the cookbook, because when they say “stirring constantly” what they really mean is “don’t stop stirring to do a single other thing for the entire time it takes to boil and cook this mixture.” After I turned the heat on under the saucepan, I quickly cleaned up the floor and washed my hands. When I returned to the stove, I found the gooey concoction was beginning to stick to the bottom of my saucepan. This was frustrating because the last thing I wanted to do was burn the homemade frosting, run out and buy the store-bought stuff, and then hang my head in shame. So I focused all my energy into keeping the mixture moving.
A few air bubbles started to pop through the top surface of the mixture, which had become incredibly gluey, so I lowered the heat as much as I could and kept stirring. My arm felt like it was about to fall off. The next time someone makes a new year’s resolution to exercise more, but isn’t really the gym type, recommend making homemade frosting to them. After the frosting mixture heated for a few minutes, it needed to cool completely before being mixed in with the butter and vanilla extract (I’m assuming so that it doesn’t just melt the butter, but instead helps the butter retain its soft fluffyness). I put the frosting into a small bowl and placed it to the side, happy to no longer have to work with the “Silky Vanilla Butter Frosting,” or as I had now renamed it, “Condensed Evil.”
I steeled myself to attack the frosting-making with sheer nerve – flying blind like this and trying something new in the kitchen can be really scary. After I measured out the flour and sugar and combined them, I tried measuring out the milk, only to have a good quarter of a cup of milk get away from me and splatter all over the floor. I pride myself on the fact that I don’t often have a lot of messes in the kitchen. I keep a fairly clean workspace and very rarely get prep ingredients on the floor. As I stared down at the puddle of milk spreading across my kitchen, I started to lose my cool. But that old adage, “Don’t cry over spilled milk” saved my mood. I slowly whisked in the milk as instructed and left the floor as it was for the moment.
Once the milk/flour/sugar recipe was fully combined, I turned on the heat. I felt a little led astray by the writers of the cookbook, because when they say “stirring constantly” what they really mean is “don’t stop stirring to do a single other thing for the entire time it takes to boil and cook this mixture.” After I turned the heat on under the saucepan, I quickly cleaned up the floor and washed my hands. When I returned to the stove, I found the gooey concoction was beginning to stick to the bottom of my saucepan. This was frustrating because the last thing I wanted to do was burn the homemade frosting, run out and buy the store-bought stuff, and then hang my head in shame. So I focused all my energy into keeping the mixture moving.
A few air bubbles started to pop through the top surface of the mixture, which had become incredibly gluey, so I lowered the heat as much as I could and kept stirring. My arm felt like it was about to fall off. The next time someone makes a new year’s resolution to exercise more, but isn’t really the gym type, recommend making homemade frosting to them. After the frosting mixture heated for a few minutes, it needed to cool completely before being mixed in with the butter and vanilla extract (I’m assuming so that it doesn’t just melt the butter, but instead helps the butter retain its soft fluffyness). I put the frosting into a small bowl and placed it to the side, happy to no longer have to work with the “Silky Vanilla Butter Frosting,” or as I had now renamed it, “Condensed Evil.”

I pulled out the first batch of cupcakes and set them out to cool down, knowing that one cannot frost warm cupcakes. I even set up an impromptu baking rack for the regular-sized cupcakes by placing the wire tray from my toaster oven across on of the burners on my range. I felt very proud of myself for this moment of minor ingenuity.

I then had to fill up my one regular-sized cupcake tray for round two of baking and threw that batch into the oven, happy to have a break from having to watch or stir something. Good thing I don’t keep alcohol in my apartment, or the second half of this baking project might have been completed while tipsy. Seriously, frosting is stressful!
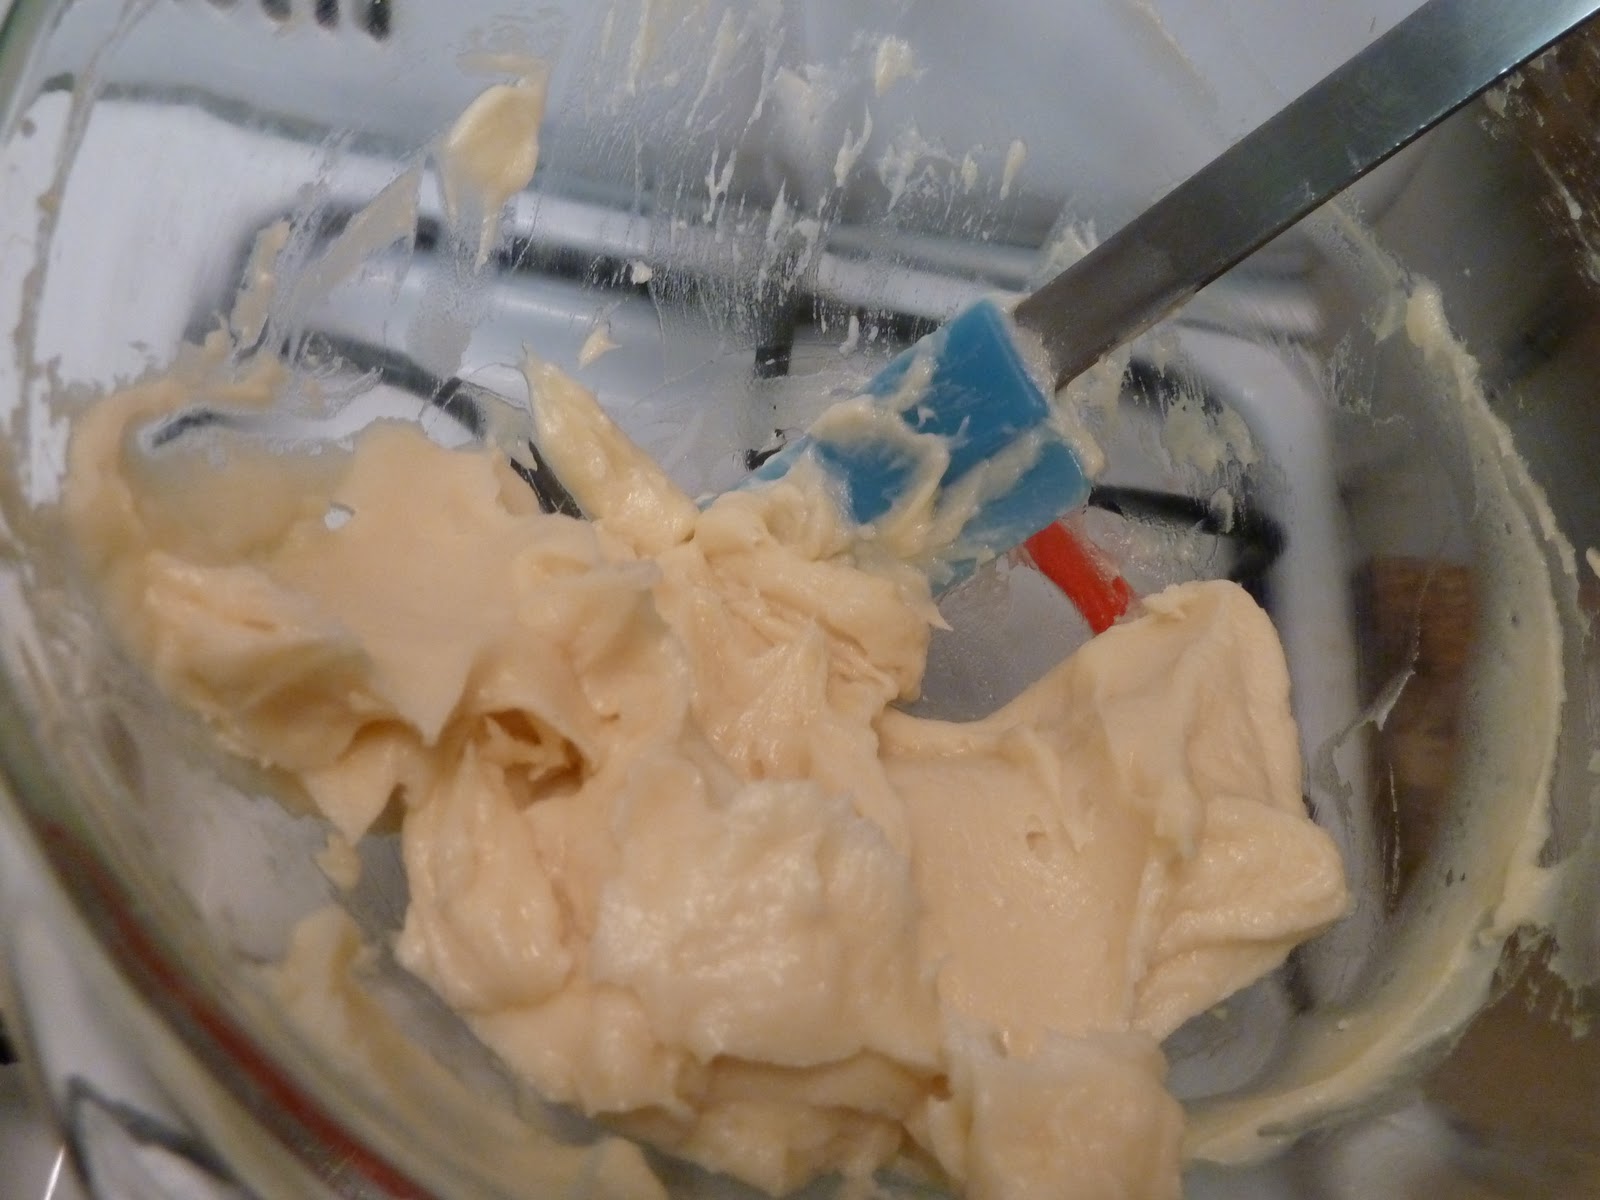
After the frosting mixture and the cupcakes had both cooled down, I set out to finish the frosting. I whipped up the butter to make it light and fluffy and added the milk/sugar/flour mixture in a few stages to the butter. When it was all thoroughly combined and the vanilla extract was mixed in as well, I wasn’t exactly thrilled with the texture of the frosting. It looked lumpy and was just too limp to hold on to the top of the cupcakes, especially the minis. Though the recipe doesn’t say you can do it, I decided I’d cover the frosting with some plastic wrap and toss it in the fridge for about 10 minutes, figuring that would help firm it up. It worked perfectly. The frosting that came out of the fridge was the exact texture and consistency I was looking for. It spread well onto the cupcakes and looked great. I did my best with frosting the cupcakes, wishing that I had a piping bag so I could make them look even more professional. Maybe some day.
Last complaint about the frosting: there was way too much left over. What am I going to do with all of this? I hate wasting stuff when I’m cooking!

I then had to fill up my one regular-sized cupcake tray for round two of baking and threw that batch into the oven, happy to have a break from having to watch or stir something. Good thing I don’t keep alcohol in my apartment, or the second half of this baking project might have been completed while tipsy. Seriously, frosting is stressful!
After the frosting mixture and the cupcakes had both cooled down, I set out to finish the frosting. I whipped up the butter to make it light and fluffy and added the milk/sugar/flour mixture in a few stages to the butter. When it was all thoroughly combined and the vanilla extract was mixed in as well, I wasn’t exactly thrilled with the texture of the frosting. It looked lumpy and was just too limp to hold on to the top of the cupcakes, especially the minis. Though the recipe doesn’t say you can do it, I decided I’d cover the frosting with some plastic wrap and toss it in the fridge for about 10 minutes, figuring that would help firm it up. It worked perfectly. The frosting that came out of the fridge was the exact texture and consistency I was looking for. It spread well onto the cupcakes and looked great. I did my best with frosting the cupcakes, wishing that I had a piping bag so I could make them look even more professional. Maybe some day.
Last complaint about the frosting: there was way too much left over. What am I going to do with all of this? I hate wasting stuff when I’m cooking!
Once the cupcakes were thoroughly frosted and ready to go, I boxed them up and covered them with some tinfoil to protect them on the bus ride over to the bar. The weather forecast said there could be snow, and the last thing I wanted was for these cupcakes to be ruined after I stressed myself so much over them. As the bus slowly made its way through Greenpoint, I thought about my friend Ashley, who is such a devoted baker and Martha Stewart aficionado that she has a special carrier just for cupcakes that’s part of Martha’s collection of home goods from Macy’s. It’s a spectacular piece of kitchen ingenuity, but it’s just not how we run things in Brooklyn – cardboard ditto-box lid and tinfoil is how we roll.


